Next |
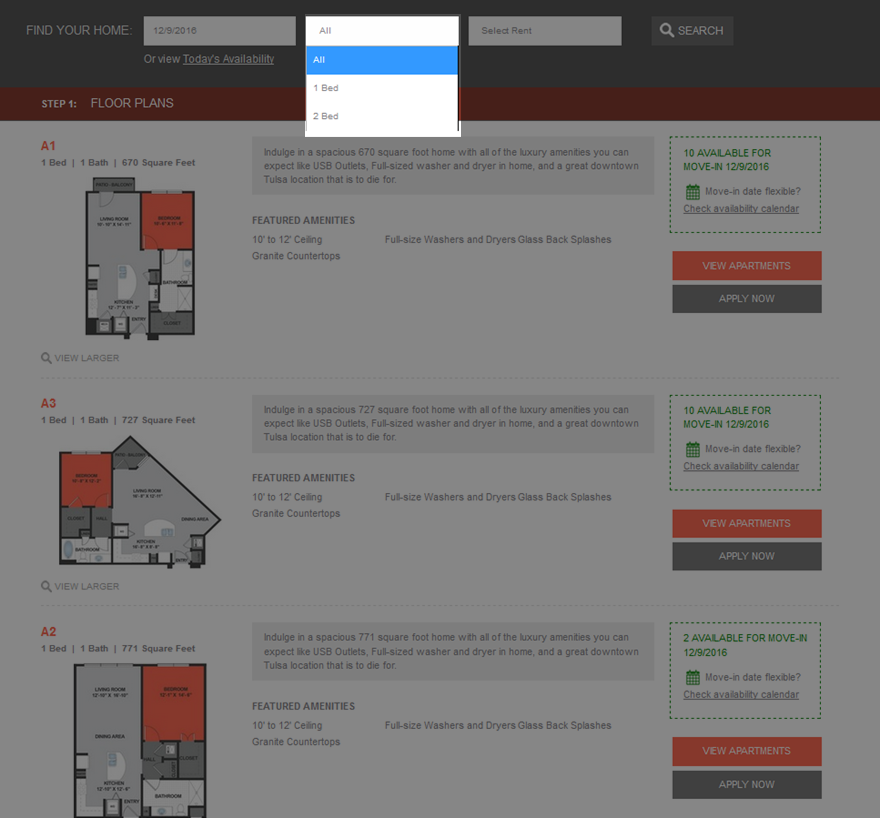
1 At the first Step, all floorplans are listed and their available move-in date is indicated by the green block on the right.
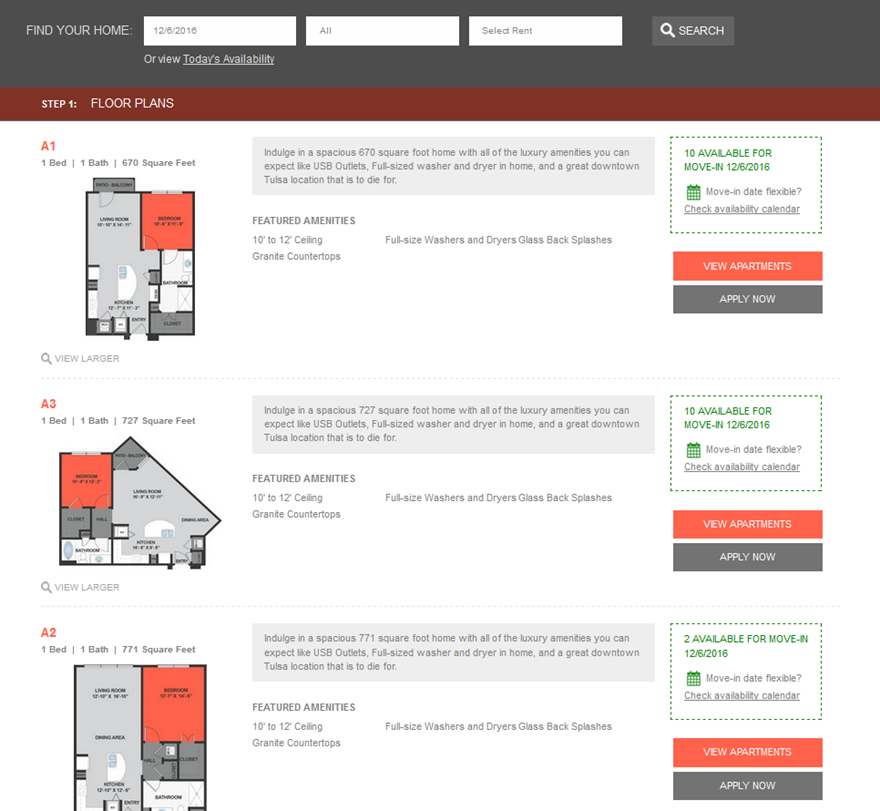
2 The user can filter the flooplans by available move-in date.

3 By number of bedroom.
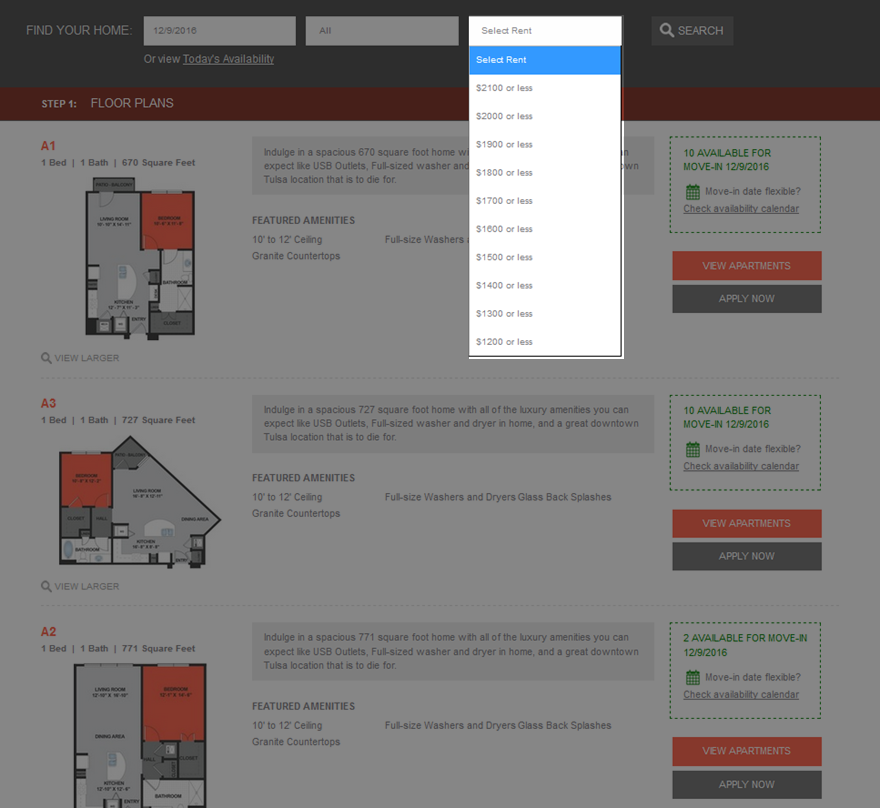
4 Or by rent.
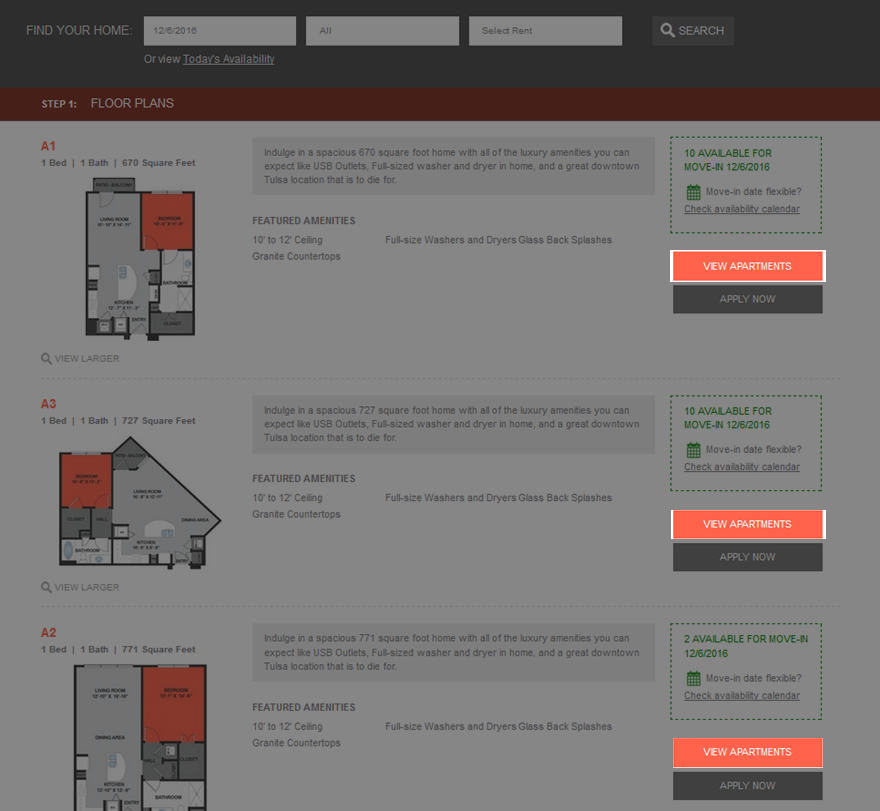
5 By click the red 'VIEW APARTMENTS' button at the right of each floorplan row, the user choose a specific floorplan
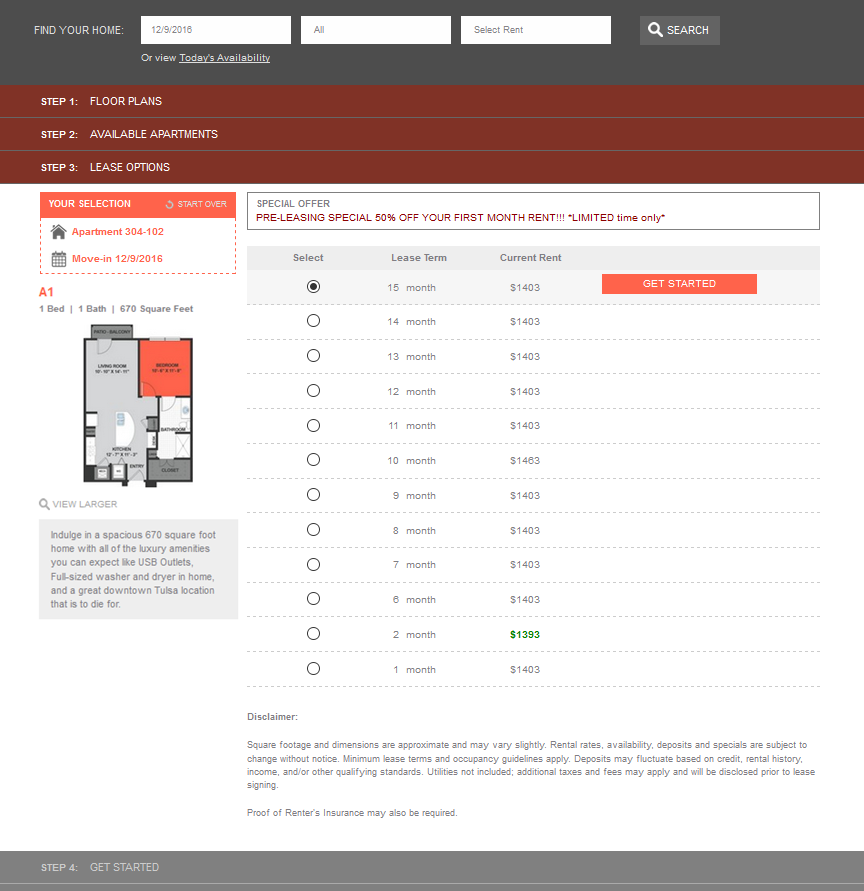
6 Once an floorplan is chosen, the webpage will jump to step 2 and list all available unit of the floorplan. By default, the lowest price term is listed for each unit. Select a lease term by clicking 'NEXT' button or click 'SEE OTHER TERMS' to check the price of different lease terms.

7 If 'SEE OTHER TERMS' button is clicked, the webpage will then show all lease terms and their corresponding price and ask the user to choose a specific term.
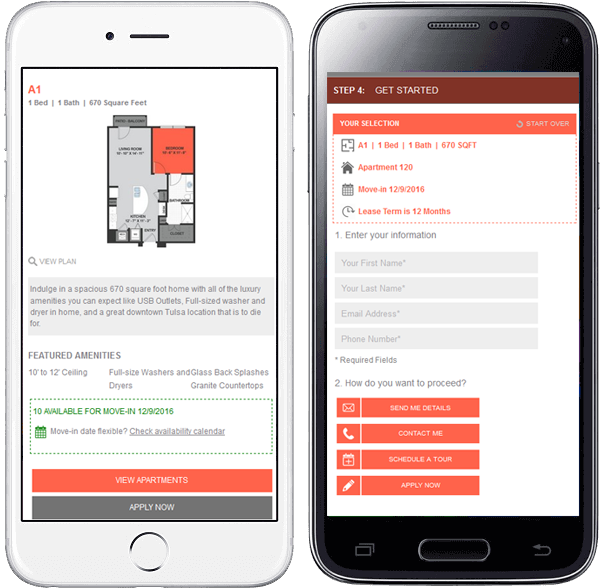
8 Once a lease term is selected. The user are required to entre his or her contact information.
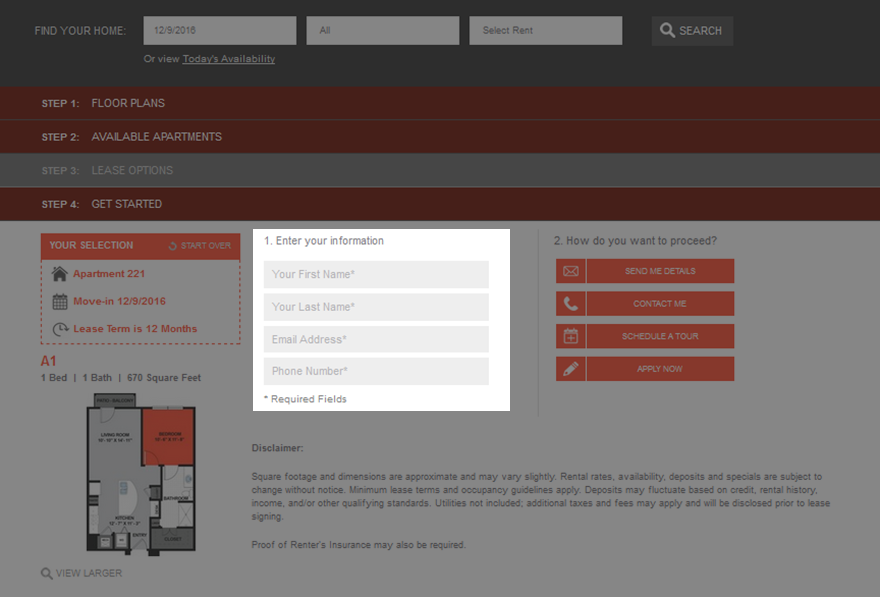
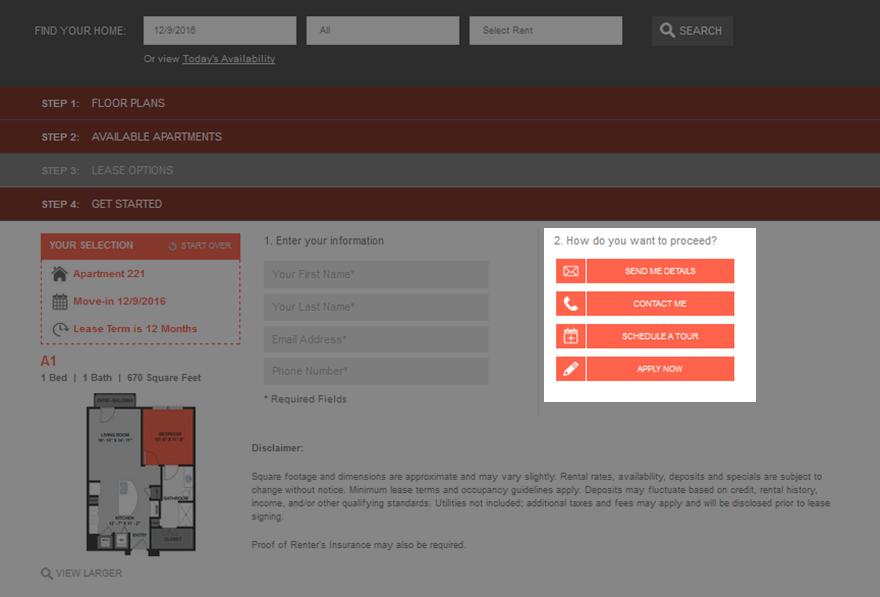
9 When the personal information is correctly entered, the user is able to request the detail of this query, schedule a tour or start the application right way.
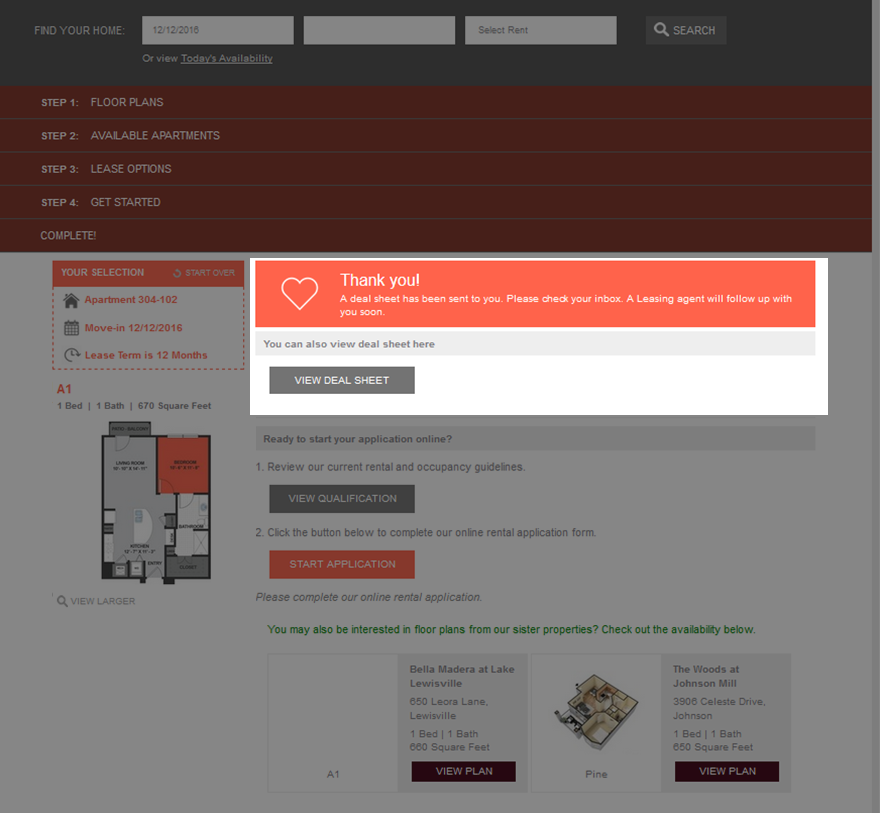
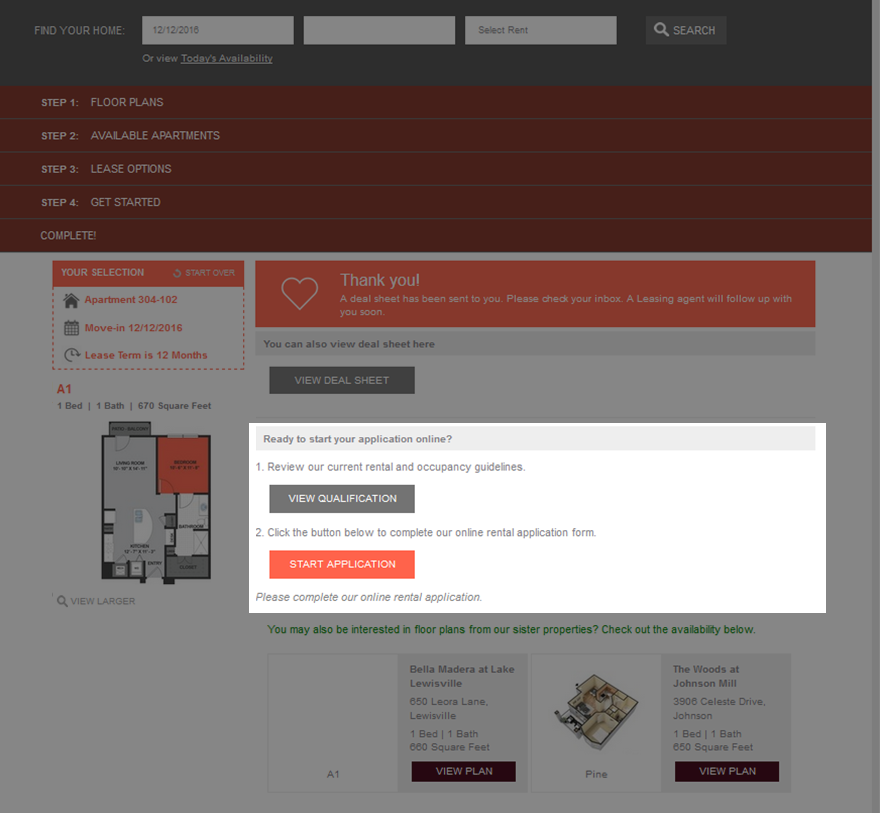
10 If the user require 'SEND ME DETAILS' or 'CONTACT ME', a page will pop up to remind the user that a pdf report has been generated and sent to the given email address. The user can check the report online by click the 'view deal sheet' button
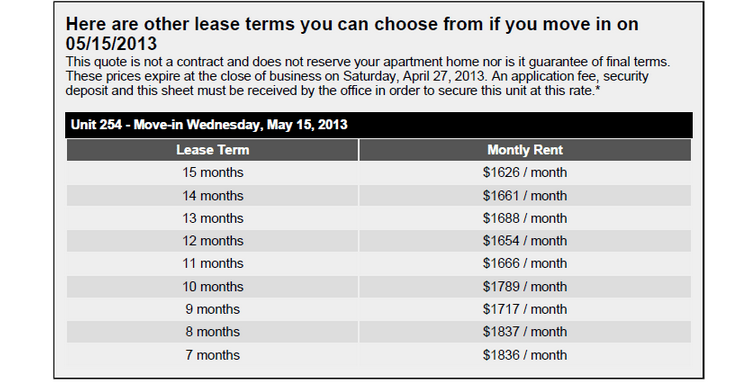
11 The first page of the report contains the detail of unit and lease term selected.

12 The second page of the report displays pricing for every lease term for the selected unit and move-in date.
13 If the 'START APPLICATION' button is click, the page will lead the user to the community's application page.
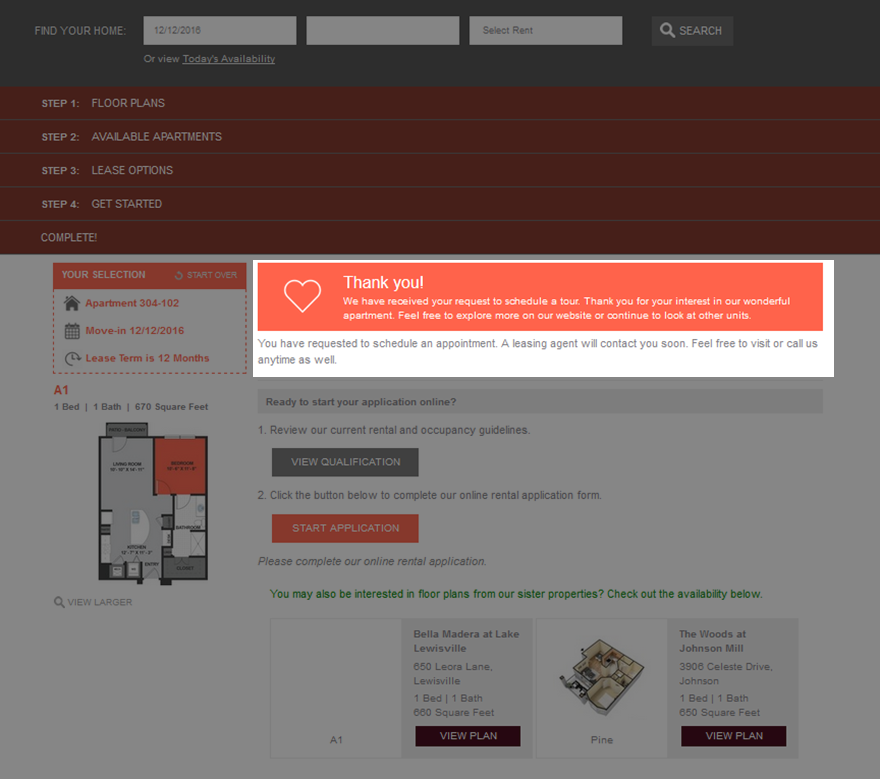
14 If the user require 'SCHEDULE A TOUR' at step 4, then a different message will show to remind the user that a leasing agent will contact him or her. But, no pdf report will be generated.
15 floorplans.apartmentwebsites.com is also optimized for mobile devices